
Getting Django Set Up Using a Functional Test
TDD isn’t something that comes naturally. It’s a discipline, like a martial art, and just like in a Kung Fu movie, you need a bad-tempered and unreasonable master to force you to learn the discipline. Ours is the Testing Goat.
Obey the Testing Goat! Do Nothing Until You Have a Test
The Testing Goat is the unofficial mascot[1] of TDD in the Python testing community. It probably means different things to different people, but, to me, the Testing Goat is a voice inside my head that keeps me on the True Path of Testing—like one of those little angels or demons that pop up above your shoulder in the cartoons, but with a very niche set of concerns. I hope, with this book, to install the Testing Goat inside your head too.
So we’ve decided to build a web app, even if we’re not quite sure what it’s going to do yet. Normally the first step in web development is getting your web framework installed and configured. Download this, install that, configure the other, run the script… but TDD requires a different mindset. When you’re doing TDD, you always have the Testing Goat inside your head—single-minded as goats are—bleating “Test first, test first!”
In TDD the first step is always the same: write a test.
First we write the test; then we run it and check that it fails as expected. Only then do we go ahead and build some of our app. Repeat that to yourself in a goat-like voice. I know I do.
Another thing about goats is that they take one step at a time. That’s why they seldom fall off things, see, no matter how steep they are. As you can see in Goats are more agile than you think (source: Caitlin Stewart, on Flickr).

We’ll proceed with nice small steps; we’re going to use Django, which is a popular Python web framework, to build our app.
The first thing we want to do is check that we’ve got Django installed and that it’s ready for us to work with. The way we’ll check is by confirming that we can spin up Django’s development server and actually see it serving up a web page, in our web browser, on our local computer. We’ll use the Selenium browser automation tool for this.
Create a new Python file called functional_tests.py, wherever you want to keep the code for your project, and enter the following code. If you feel like making a few little goat noises as you do it, it may help:
from selenium import webdriver

browser = webdriver.Firefox()
browser.get("http://localhost:8000")

assert "Congratulations!" in browser.title
print("OK")
That’s our first functional test (FT); I’ll talk more about what I mean by functional tests, and how they contrast with unit tests, in a bit. For now, it’s enough to assure ourselves that we understand what it’s doing:
-
Starting a Selenium "webdriver" to pop up a real Firefox browser window.
-
Using it to open up a web page which we’re expecting to be served from the local computer.
-
Checking (making a test assertion) that the page has the word "Congratulations!" in its title.
-
If all goes well we print OK.
Let’s try running it:
$ python functional_tests.py
Traceback (most recent call last):
  File "...goat-book/functional_tests.py", line 4, in <module>
    browser.get("http://localhost:8000")
  File ".../selenium/webdriver/remote/webdriver.py", line 357, in get
    self.execute(Command.GET, {"url": url})
  File ".../selenium/webdriver/remote/webdriver.py", line 348, in execute
    self.error_handler.check_response(response)
  File ".../selenium/webdriver/remote/errorhandler.py", line 229, in
check_response
    raise exception_class(message, screen, stacktrace)
selenium.common.exceptions.WebDriverException: Message: Reached error page: abo
ut:neterror?e=connectionFailure&u=http%3A//localhost%3A8000/[...]
Stacktrace:
RemoteError@chrome://remote/content/shared/RemoteError.sys.mjs:8:8
WebDriverError@chrome://remote/content/shared/webdriver/Errors.sys.mjs:182:5
UnknownError@chrome://remote/content/shared/webdriver/Errors.sys.mjs:530:5
[...]
You should see a browser window pop up and try to open localhost:8000, and show the "Unable to connect" error page. If you switch back to your console, you’ll see the big ugly error message, telling us that Selenium hit an error page. And then, you will probably be irritated at the fact that it left the Firefox window lying around your desktop for you to tidy up. We’ll fix that later!
| If, instead, you see an error trying to import Selenium, or an error trying to find something called "geckodriver", you might need to go back and have another look at the "[pre-requisites]" section. |
For now though, we have a failing test, so that means we’re allowed to start building our app.
Getting Django Up and Running
Since you’ve definitely read “[pre-requisites]” by now, you’ve already got Django installed (right?). The first step in getting Django up and running is to create a project, which will be the main container for our site. Django provides a little command-line tool for this:
$ django-admin startproject superlists .
Don’t forget that "." at the end; it’s important!
That will create a file called manage.py in your current folder, and a subfolder called superlists, with more stuff inside it:
.
├── functional_tests.py
├── manage.py
└── superlists
    ├── __init__.py
    ├── asgi.py
    ├── settings.py
    ├── urls.py
    └── wsgi.py
| Make sure your project folder looks exactly like this! If you see two nested folders called superlists, it’s because you forgot the "." above. Delete them and try again, or there will be lots of confusion with paths and working directories. |
The superlists folder is intended for stuff that applies to the whole project—like settings.py, for example, which is used to store global configuration information for the site.
But the main thing to notice is manage.py. That’s Django’s Swiss Army knife, and one of the things it can do is run a development server. Let’s try that now:
$ python manage.py runserver
Watching for file changes with StatReloader
Performing system checks...

System check identified no issues (0 silenced).

You have 18 unapplied migration(s). Your project may not work properly until
you apply the migrations for app(s): admin, auth, contenttypes, sessions.
Run 'python manage.py migrate' to apply them.
March 17, 2023 - 18:07:30
Django version 4.2, using settings 'superlists.settings'
Starting development server at http://127.0.0.1:8000/
Quit the server with CONTROL-C.
That’s Django’s development server now up and running on our machine.
| It’s safe to ignore that message about "unapplied migrations" for now. We’ll look at migrations in [chapter_05_post_and_database]. |
Leave it there and open another command shell. Navigate to your project folder, activate your virtualenv, and then try running our test again:
$ python functional_tests.py
OK
Not much action on the command line, but you should notice two things: firstly,
there was no ugly AssertionError and secondly, the Firefox window that
Selenium popped up had a different-looking page on it.
| If you see an error saying "no module named selenium", you’ve forgotten to activate your virtualenv. Check the [pre-requisites] section again if you need to. |
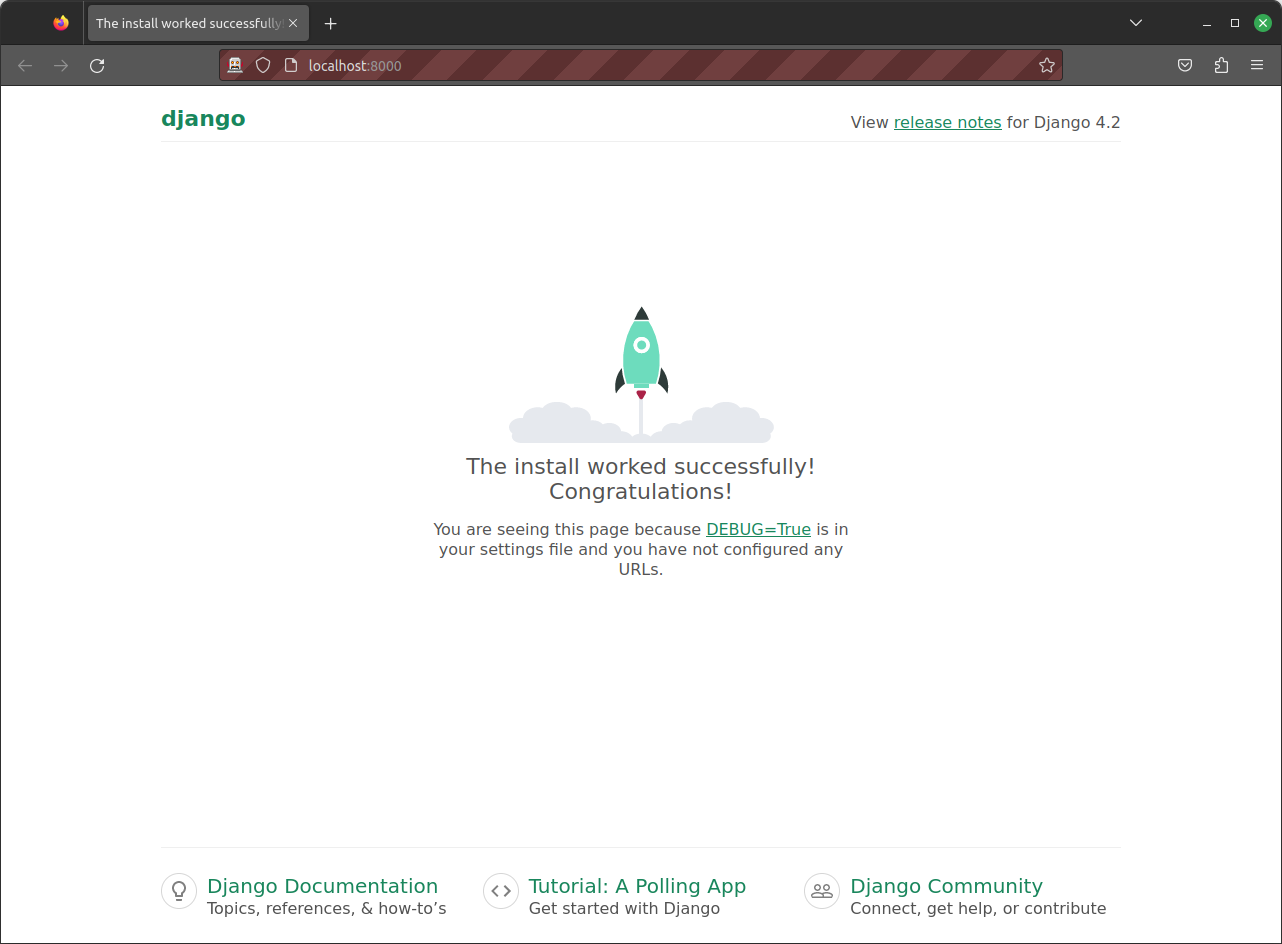
Well, it may not look like much, but that was our first ever passing test! Hooray!
If it all feels a bit too much like magic, like it wasn’t quite real, why not go and take a look at the dev server manually, by opening a web browser yourself and visiting http://localhost:8000? You should see something like It worked!.
You can quit the development server now if you like, back in the original shell, using Ctrl-C.
Starting a Git Repository
There’s one last thing to do before we finish the chapter: start to commit our work to a version control system (VCS). If you’re an experienced programmer you don’t need to hear me preaching about version control, but if you’re new to it please believe me when I say that VCS is a must-have. As soon as your project gets to be more than a few weeks old and a few lines of code, having a tool available to look back over old versions of code, revert changes, explore new ideas safely, even just as a backup… It’s hard to overstate how useful that is. TDD goes hand in hand with version control, so I want to make sure I impart how it fits into the workflow.
So, our first commit! If anything it’s a bit late; shame on us. We’re using Git as our VCS, ’cos it’s the best.
Let’s start by doing the git init to start the repository:
$ ls
db.sqlite3  functional_tests.py  manage.py  superlists

$ git init .
Initialised empty Git repository in ...goat-book/.git/
Now let’s take a look and see what files we want to commit:
$ ls
db.sqlite3 functional_tests.py manage.py superlists
There are a few things in here that we don’t want under version control: db.sqlite3 is the database file, and our virtualenv shouldn’t be in git either. We’ll add all of them to a special file called .gitignore which, um, tells Git what to ignore:
$ echo "db.sqlite3" >> .gitignore
$ echo ".venv" >> .gitignore
Next we can add the rest of the contents of the current folder, ".":
$ git add .
$ git status
On branch main

No commits yet

Changes to be committed:
  (use "git rm --cached <file>..." to unstage)

        new file:   .gitignore
        new file:   functional_tests.py
        new file:   manage.py
        new file:   superlists/__init__.py
        new file:   superlists/__pycache__/__init__.cpython-312.pyc
        new file:   superlists/__pycache__/settings.cpython-312.pyc
        new file:   superlists/__pycache__/urls.cpython-312.pyc
        new file:   superlists/__pycache__/wsgi.cpython-312.pyc
        new file:   superlists/asgi.py
        new file:   superlists/settings.py
        new file:   superlists/urls.py
        new file:   superlists/wsgi.py
Oops! We’ve got a bunch of .pyc files in there; it’s pointless to commit those. Let’s remove them from Git and add them to .gitignore too:
$ git rm -r --cached superlists/__pycache__
rm 'superlists/__pycache__/__init__.cpython-312.pyc'
rm 'superlists/__pycache__/settings.cpython-312.pyc'
rm 'superlists/__pycache__/urls.cpython-312.pyc'
rm 'superlists/__pycache__/wsgi.cpython-312.pyc'
$ echo "__pycache__" >> .gitignore
$ echo "*.pyc" >> .gitignore
Now let’s see where we are…
$ git status
On branch main

Initial commit

Changes to be committed:
  (use "git rm --cached <file>..." to unstage)

        new file:   .gitignore
        new file:   functional_tests.py
        new file:   manage.py
        new file:   superlists/__init__.py
        new file:   superlists/asgi.py
        new file:   superlists/settings.py
        new file:   superlists/urls.py
        new file:   superlists/wsgi.py

Changes not staged for commit:
  (use "git add <file>..." to update what will be committed)
  (use "git restore <file>..." to discard changes in working directory)

        modified:   .gitignore
You’ll see I’m using git status a lot—so much so that
I often alias it to git st…I’m not telling you how to do that though;
I leave you to discover the secrets of Git aliases on your own!
|
Looking good—we’re ready to do our first commit!
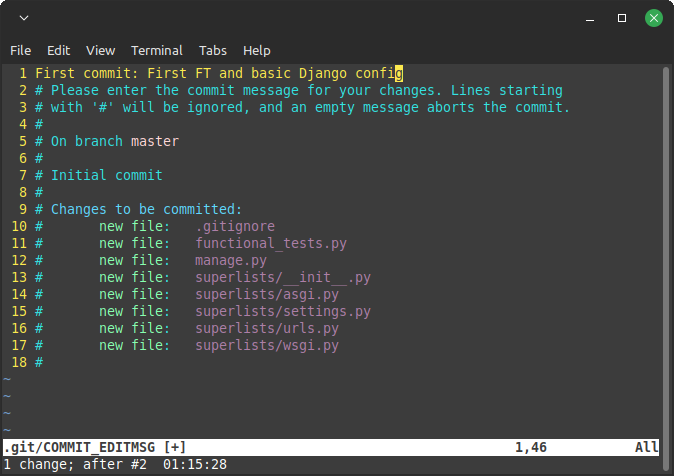
$ git add .gitignore
$ git commit
When you type git commit, it will pop up an editor window for you to write your commit message in.
Mine looked like First Git commit.[2]
| If you want to really go to town on Git, this is the time to also learn about how to push your work to a cloud-based VCS hosting service like GitHub or GitLab. They’ll be useful if you think you want to follow along with this book on different computers. I leave it to you to find out how they work; they have excellent documentation. Alternatively, you can wait until [chapter_09_docker] when we’ll be using one for deployment. |
That’s it for the VCS lecture. Congratulations! You’ve written a functional test using Selenium, and you’ve gotten Django installed and running, in a certifiable, test-first, goat-approved TDD way. Give yourself a well-deserved pat on the back before moving on to [chapter_02_unittest].
Comments